Well, this job was slightly unexpected for me. Don’t get me wrong, it’s right up my alley. However, the cost for me to do something this tedious is not cheap… and for what most onlookers would refer to as a waste of money. With that being said, I completely understand the customer’s reasoning. Hell, I do the same sort of thing all the time… spend tons of money or time on things that will go unnoticed by most.
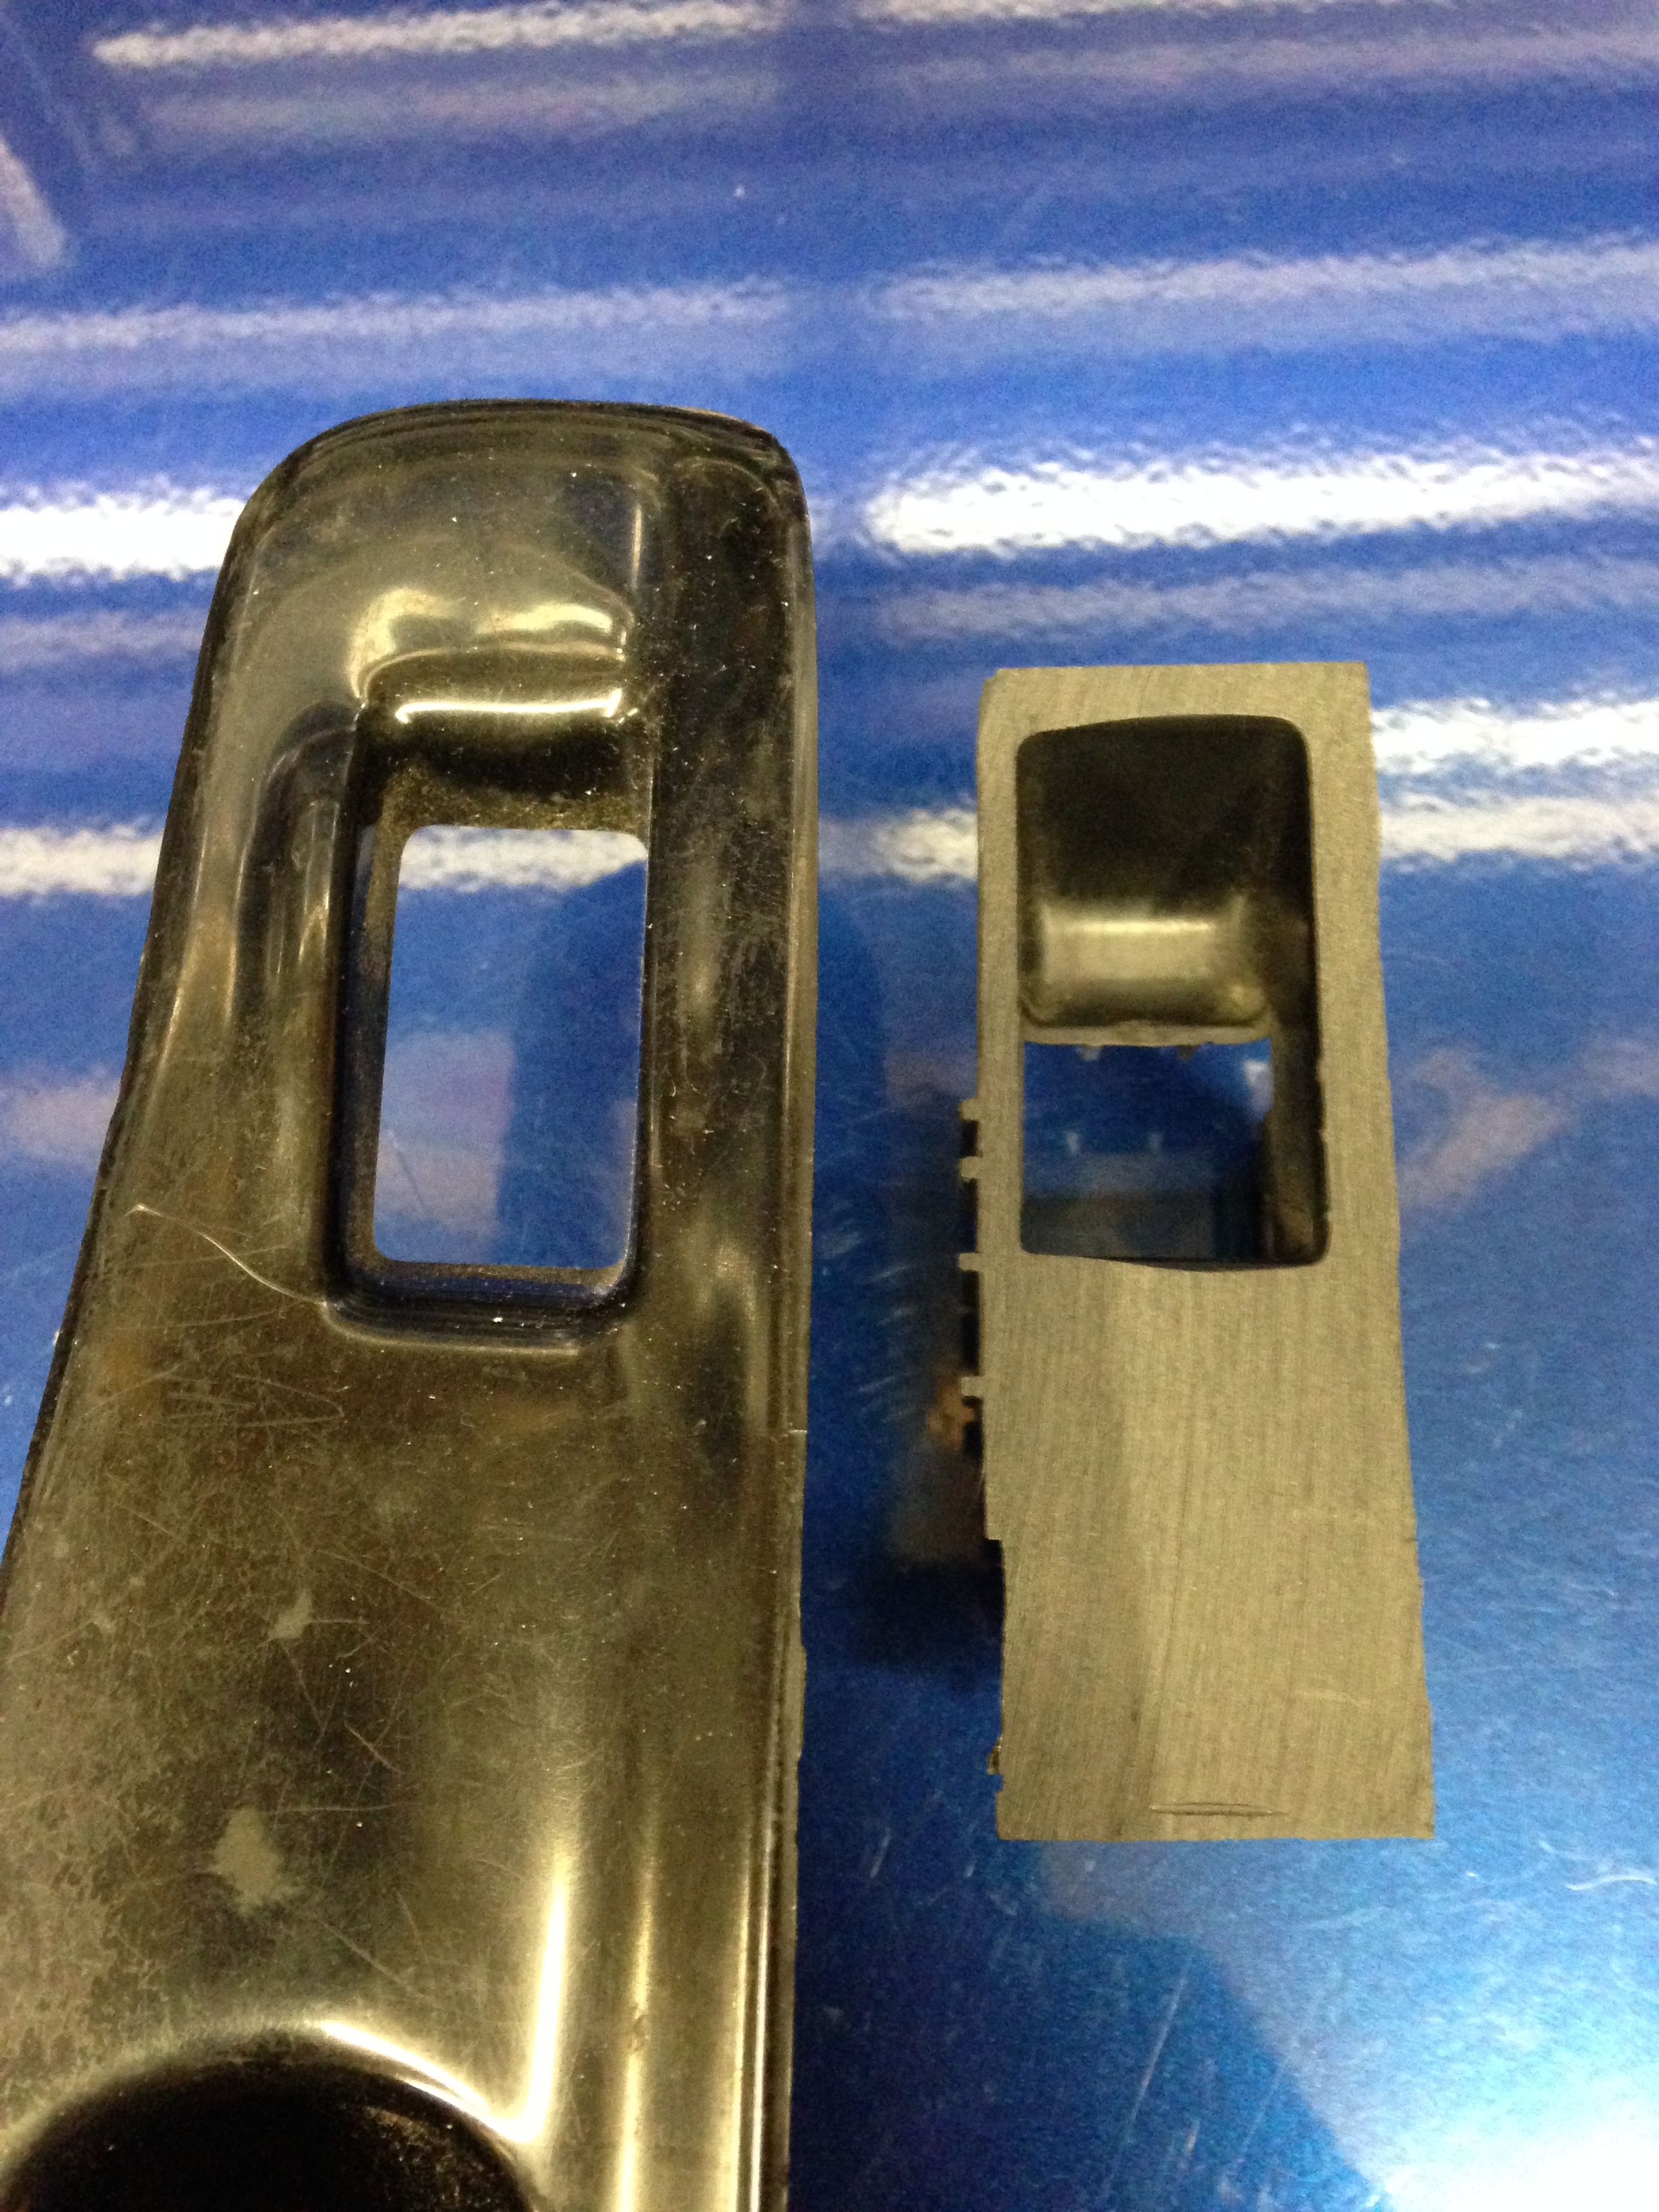
So down to it! This customer had a set of S13 JDM window switch plates/switches that he wanted in his S13 USDM vehicle. Seems easy enough, just unsnap/unscrew the switch assemblies from the back of the JDM plates and attach them to the back of the USDM plates. WRONG! The switch assemblies are of completely different design from the JDM to the USDM version. Not only that, the window switch plates have the opposite curve to them since the plates are obviously on opposite sides of the car in JDM land. If you take a look at the images below, comparing the JDM and USDM, it quickly becomes apparent the differences. The switches themselves are also different. The USDM switches(not pictured)are a simple push forward and push back. Whereas the JDM switches are a pull up and a push down style. Which means there also needs to be a “cup’ formed in the plastic in front of the switch. That way your finger doesn’t just poke through when you are trying to pull up on the switch. In the following images, the USDM plates are the ones without the actual switches in them.


So the only way to properly do this was to cut out the section that has the JDM button openings, thus retaining the original JDM button mounting setup on the back. Then hack out a similar size opening in the USDM plates and retrofit the JDM assemblies into them:
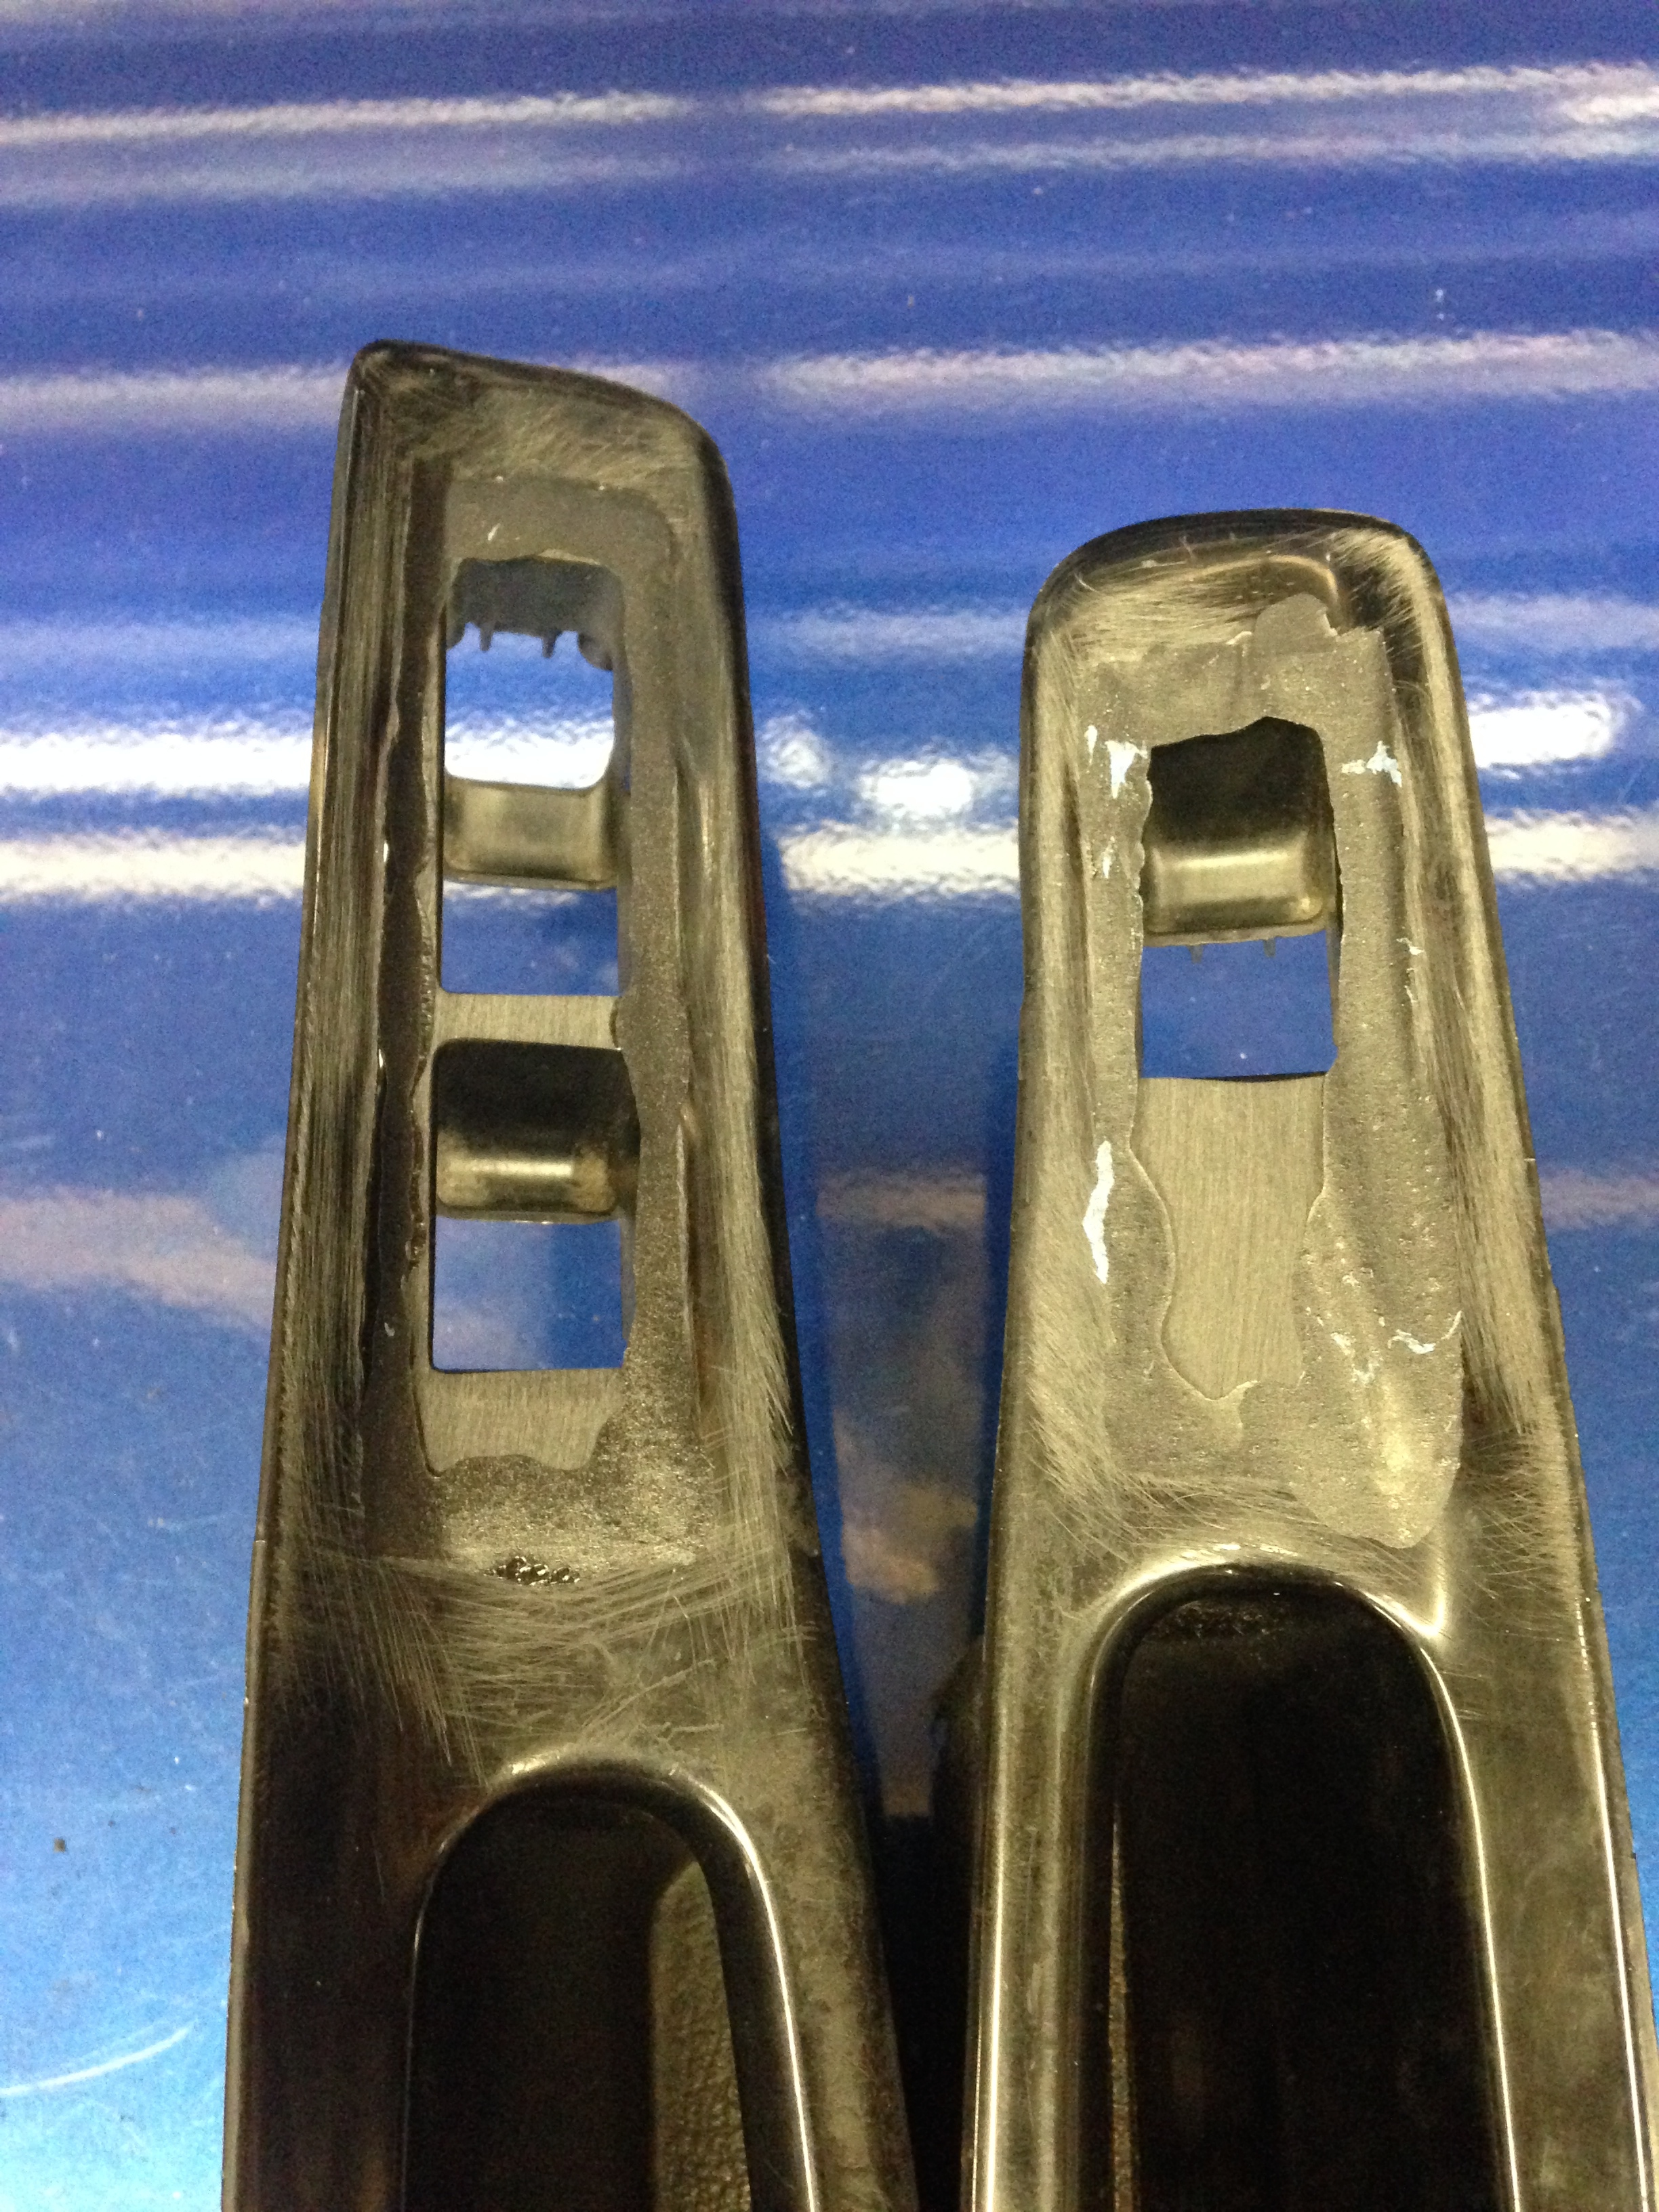
The cut out JDM assembly on the right needing to go into the USDM plate on the left:

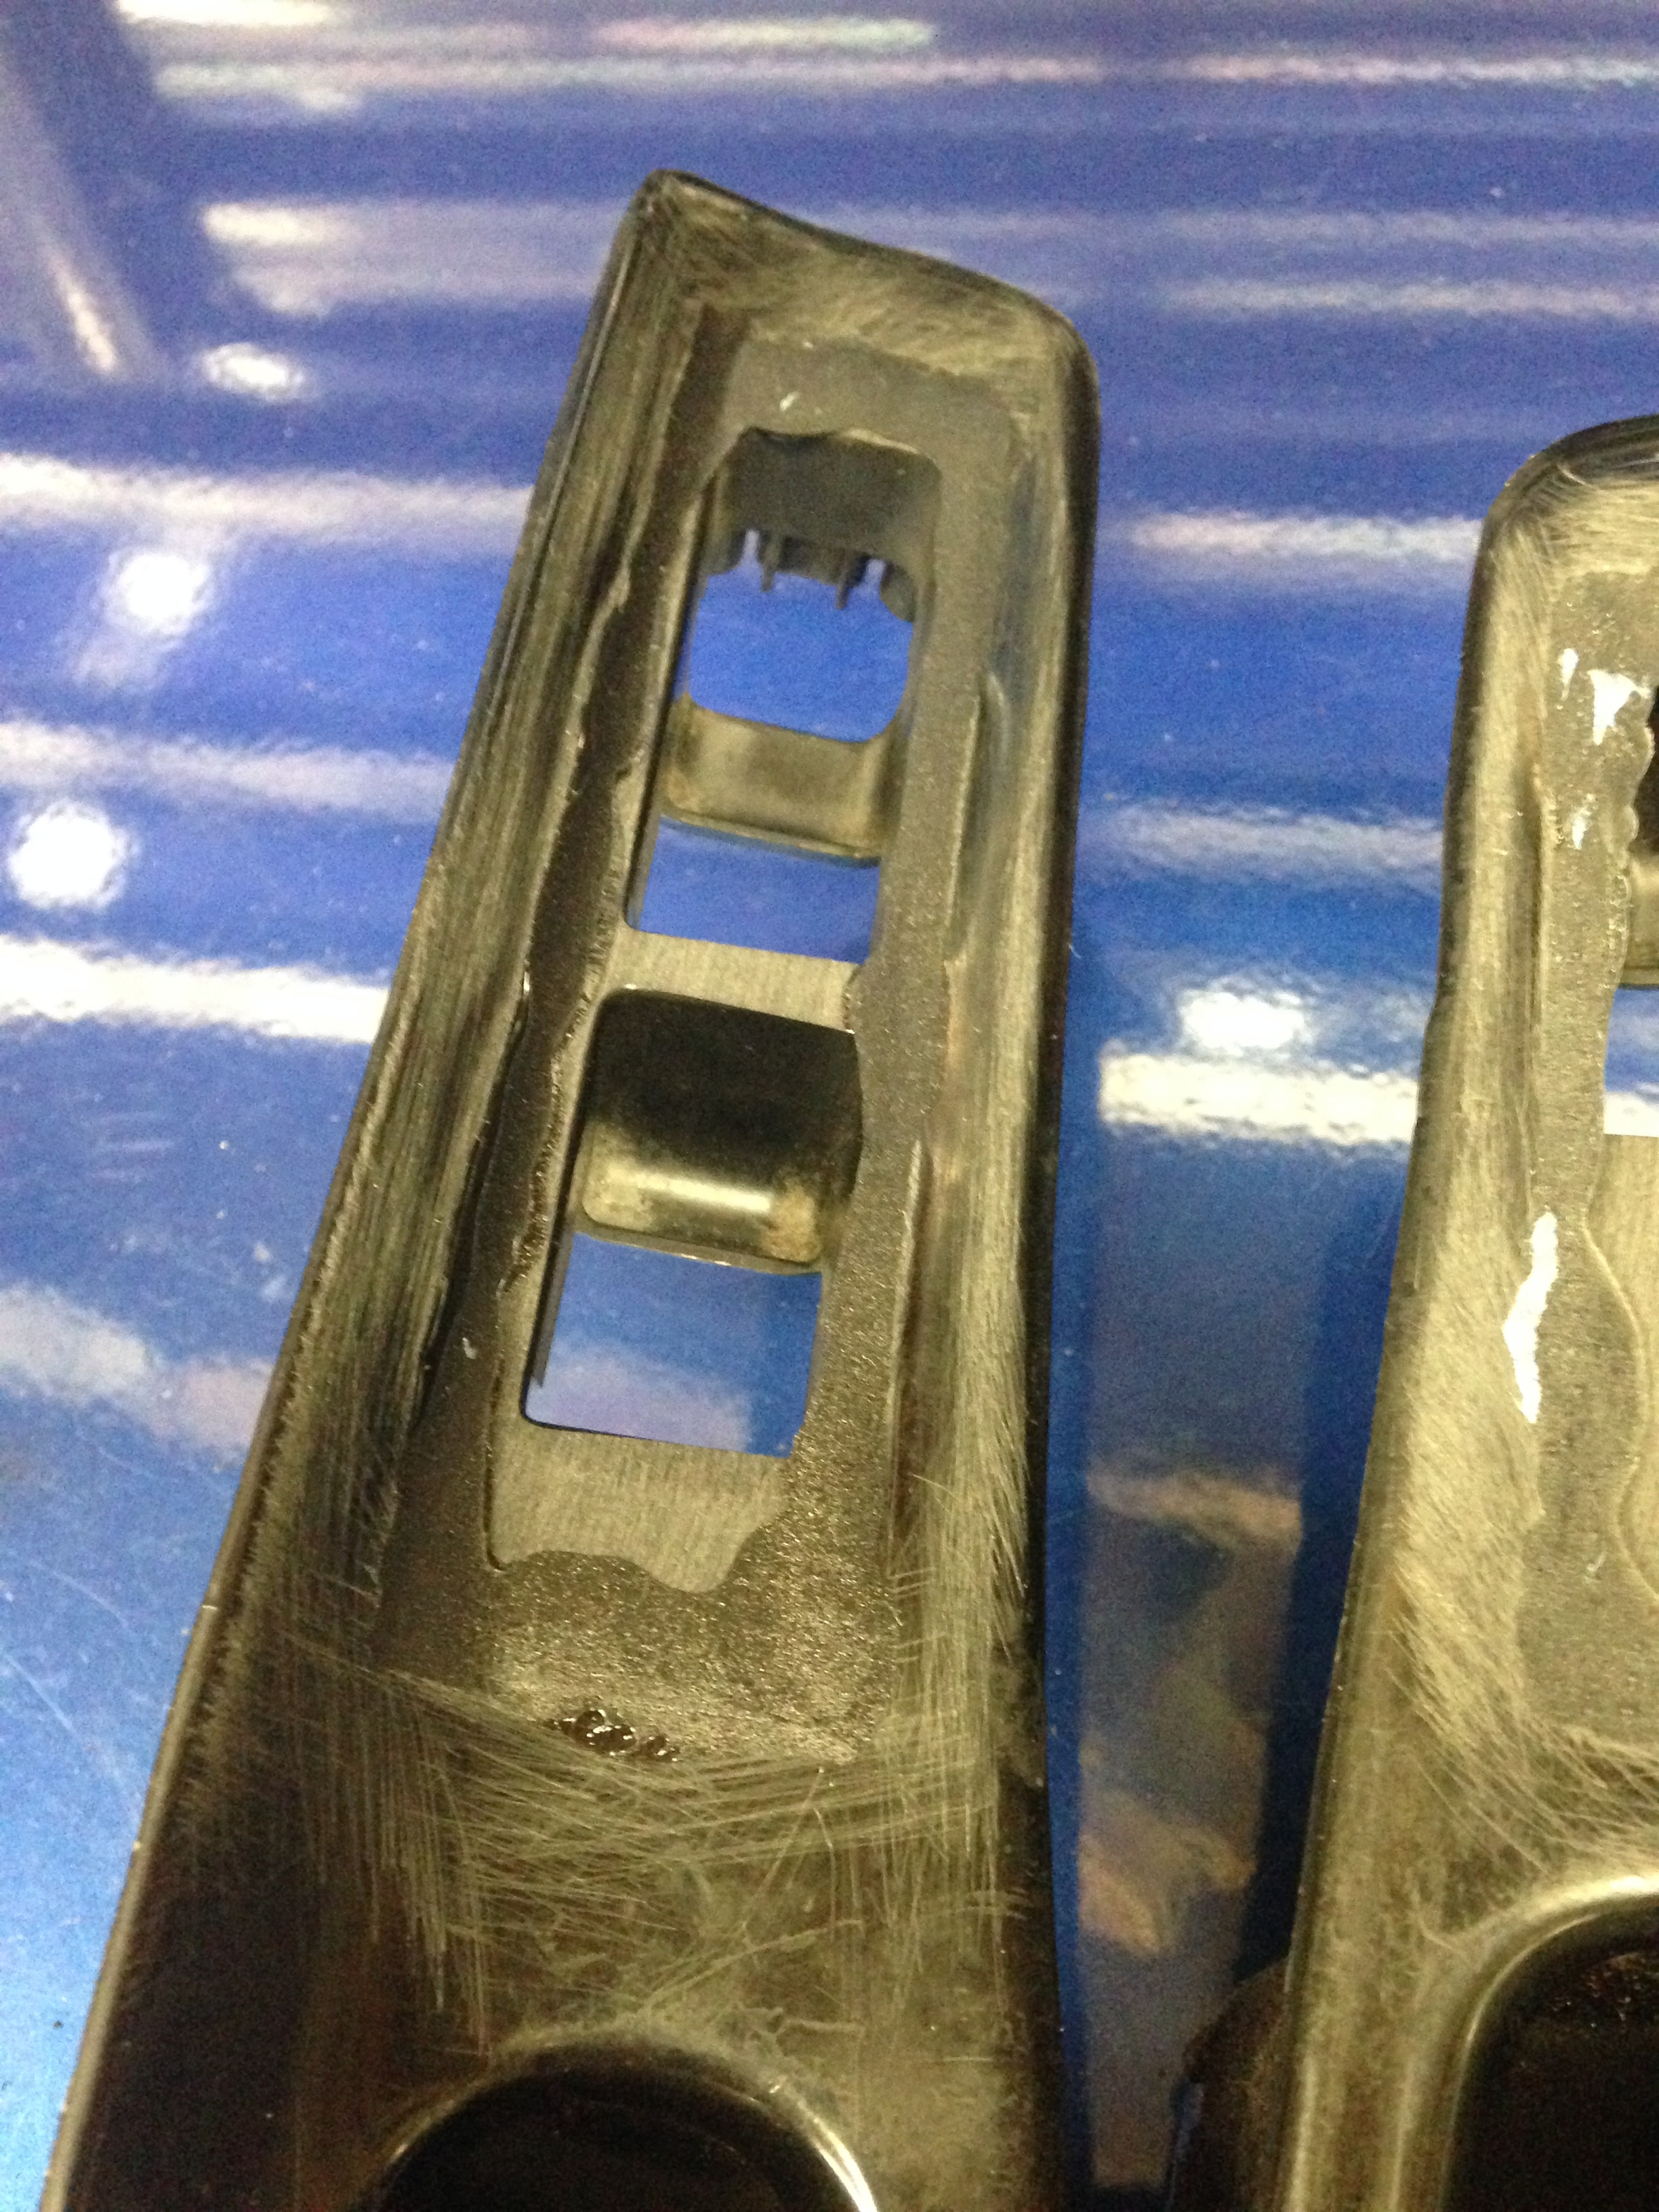
USDM plate ready for the transplant:

Test fit to make sure I am still on course:


Same with the passenger side:
Next it was time to bond these permanently into place with one of my favorite products… Norton Speed Grip 2-part adhesive. Note: just to get setup with this stuff it will cost a minimum of $100. The glue is very expensive and it takes a special applicator gun to apply it. But it’s so worth it if you need to bond plastic.

At this point it’s time to get it looking good. A lot of rough sanding, shaping, forming, a tad bit of Evercoat Fiber Tech filler, some primer and here you go. Well, some of those steps need to be done numerous times!

My customer also requested a white LED to be mounted in the driver side switch:


Last but not least, some SEM Satin Black Color Coat:


You are amazing!
I follow your blog since years now, and every time you post some new stuff i just sit here and say WOW!
Respect 2 the MAX!
Thanks TW, I really appreciate the support!
Dude your plastic work is unreal!
I keep checking here or zilvia every couple weeks looking for an S13 update. Give the people what they want; V8 S13!!!
Great work as always and looking forward to updates.
WOW amazing work Broadfield!